Shooting Infrared and Extended Red film
Shooting Infared and Extended Red film
Shooting Infrared film
Infrared photography has always been a unique and niche art form, allowing a photographer to capture images seemingly from another dimension. I say niche because capturing that "perfect" image requires a different approach to pre-visualizing your scene, an understanding of the limitations of infrared and the ability to adjust your settings effectively for changing conditions. For these reasons, many photographers are reluctant to give IR film a try. This article will not only demonstrate the benefits of learning the discipline of Infrared film photography but also show that even a first-timer like myself can get outstanding results by following a few basic principles.
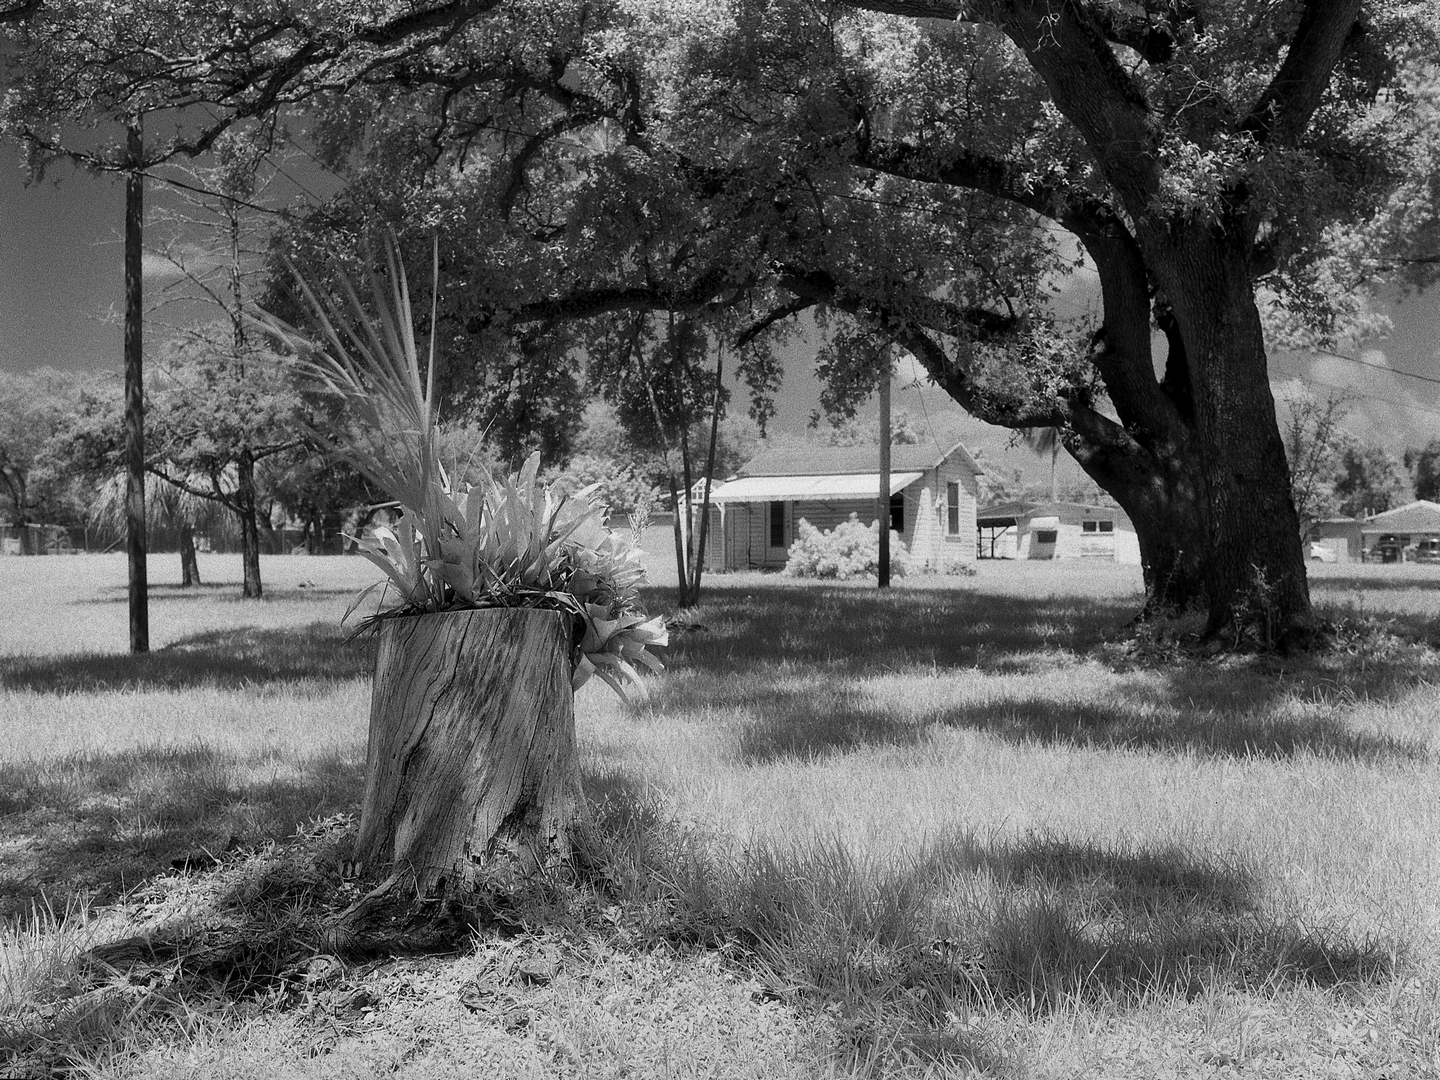
Westridge Park - Davie Florida ©Aloy Anderson
The Art Of Infrared
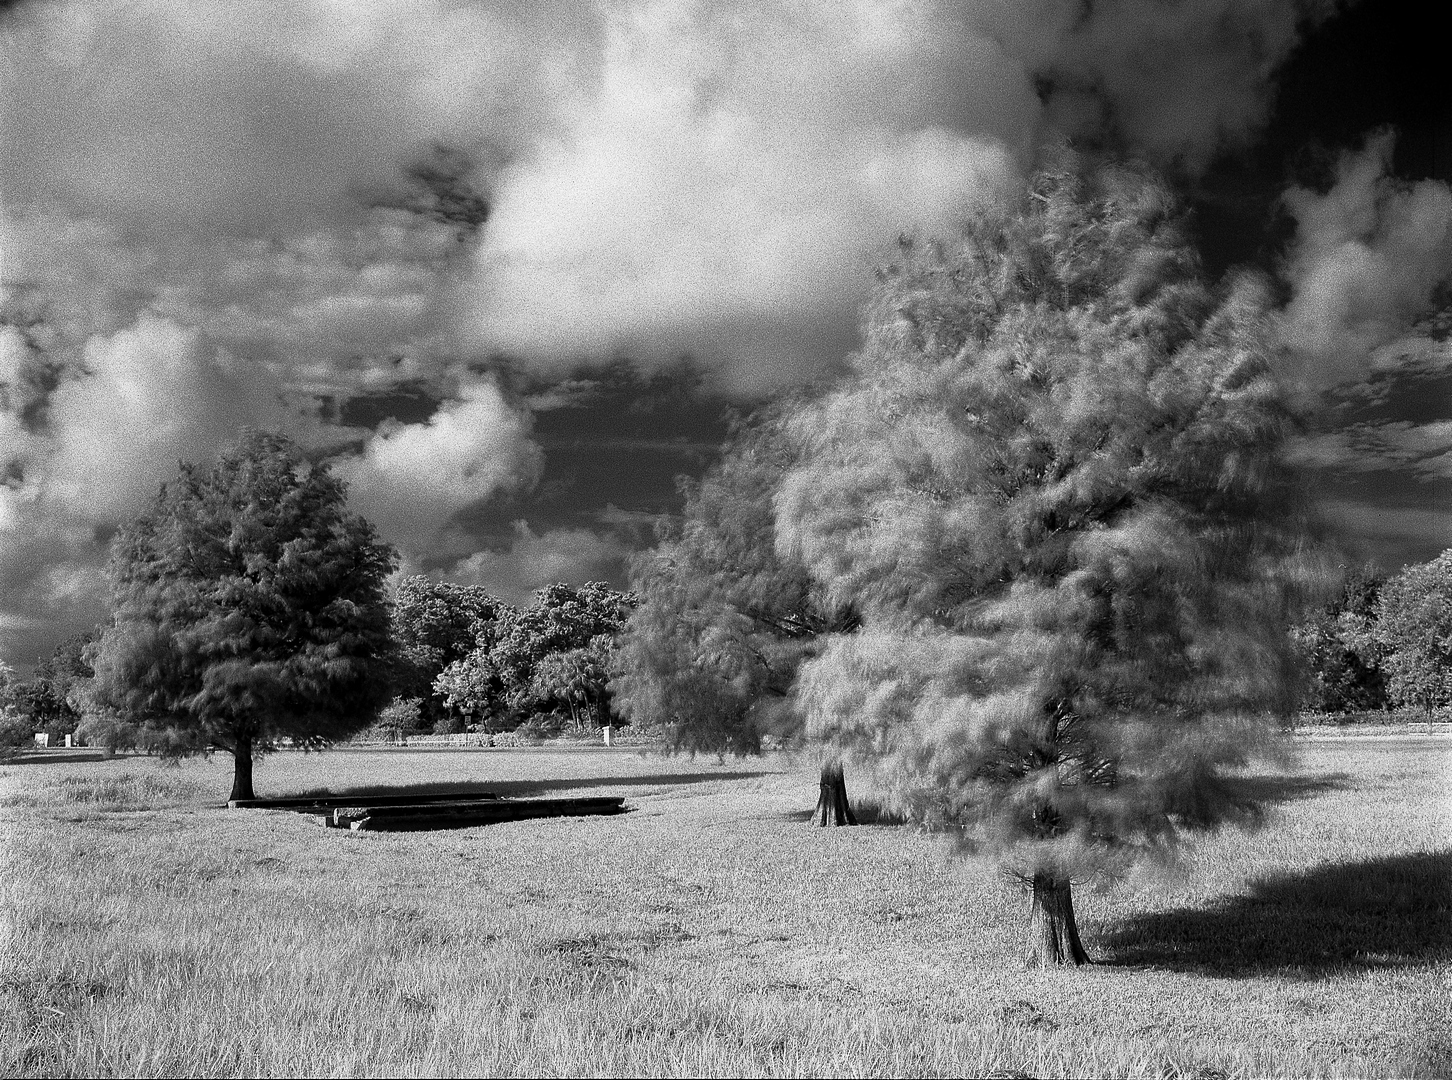
The Unique beauty of IR comes from being able to compose the same scenes you would with natural light but now capturing them with a new mood and feel. Some compare IR images to visions from a dream although wide awake. You begin to notice unusual things such as flowers having patterns that aren't normally visible, the way some foliage reflects more IR than others or how the ominously dark sky contrasts the white puffy clouds, clouds with an unmistakable texture and grain that only film can produce. Yes, Infrared is a challenge but it provides the unique opportunity to create images that set your work apart from the masses.
Everglades Holiday Park - Florida ©Aloy Anderson
The Basics
Because infrared light is invisible to the human eye, to capture it on an IR sensitive film like Ilford SFX we need a filter to block out visible light but allow the IR to pass through to the film plane. Filters come in different strengths, for example, the weakest, a 550 nanometer allows the most visible light through to give the least drastic effect while allowing higher shutter speeds.
The 720nm is the standard general-purpose filter of choice, It allows some visible light to pass through while still rendering good contrast between bright foliage and darker skies. This is the recommendation for beginners just starting out and the one I used for all the photos in his article.
Finally the strongest filter, an 850nm lets in practically no visible light, because of this it renders green vegetation a stark white and blue skies an inky black. The trade-off is it requires much longer exposures which creates its own challenges such as blurry trees or water blowing in the wind, sometimes this can be used as an advantage though to magnify that surreal look.
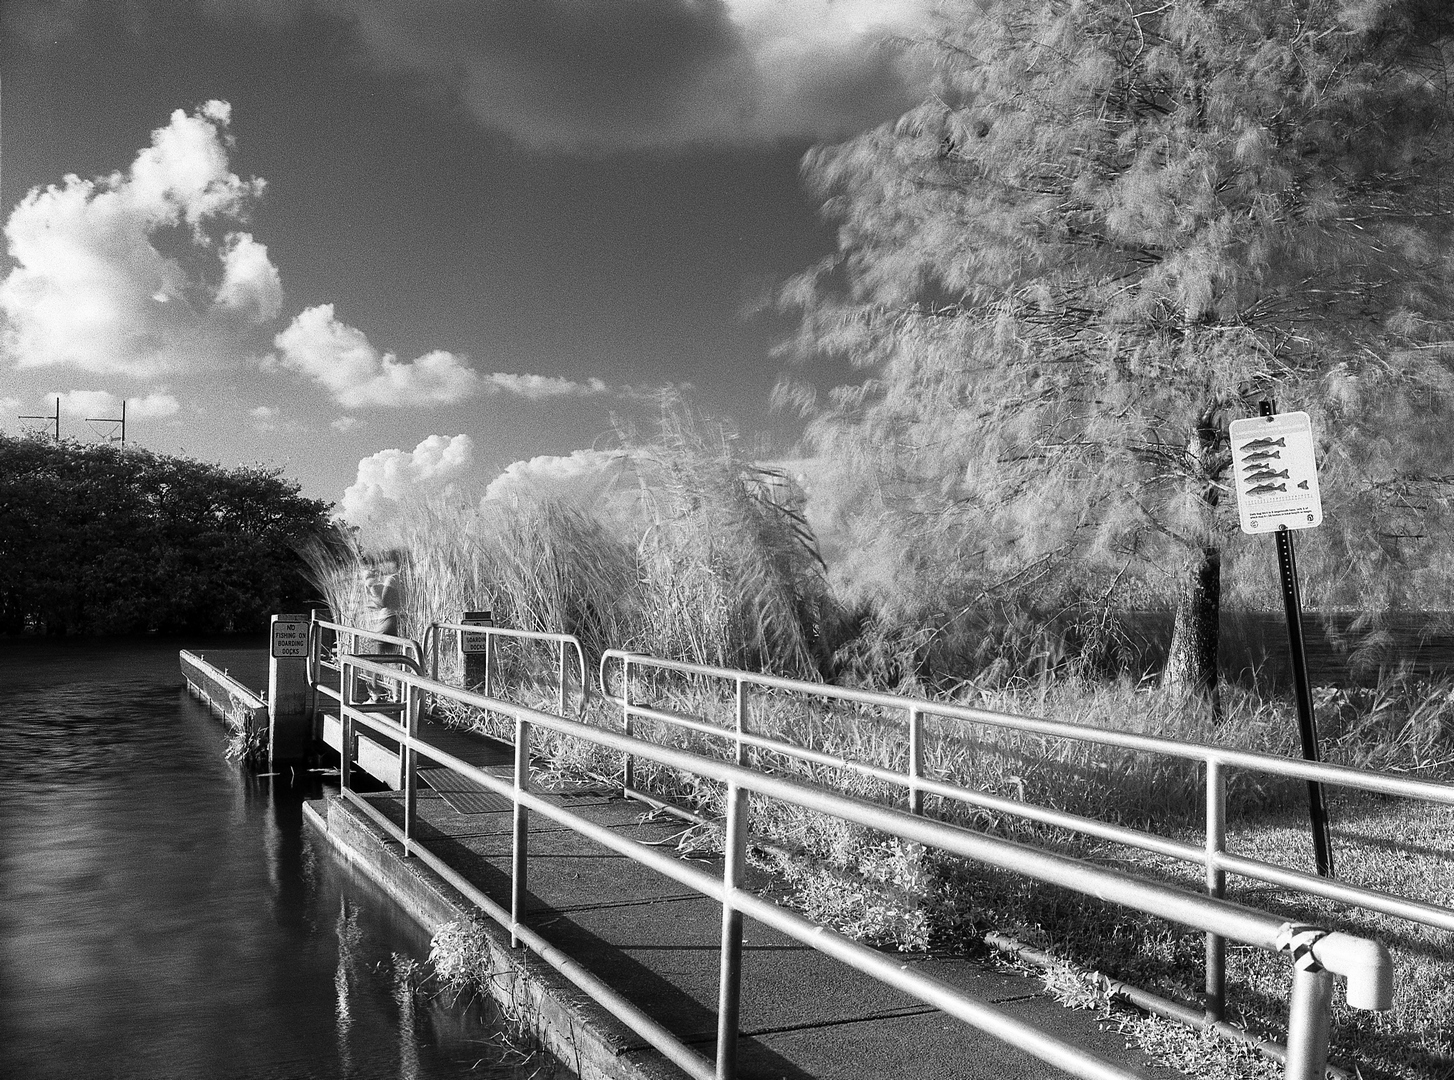
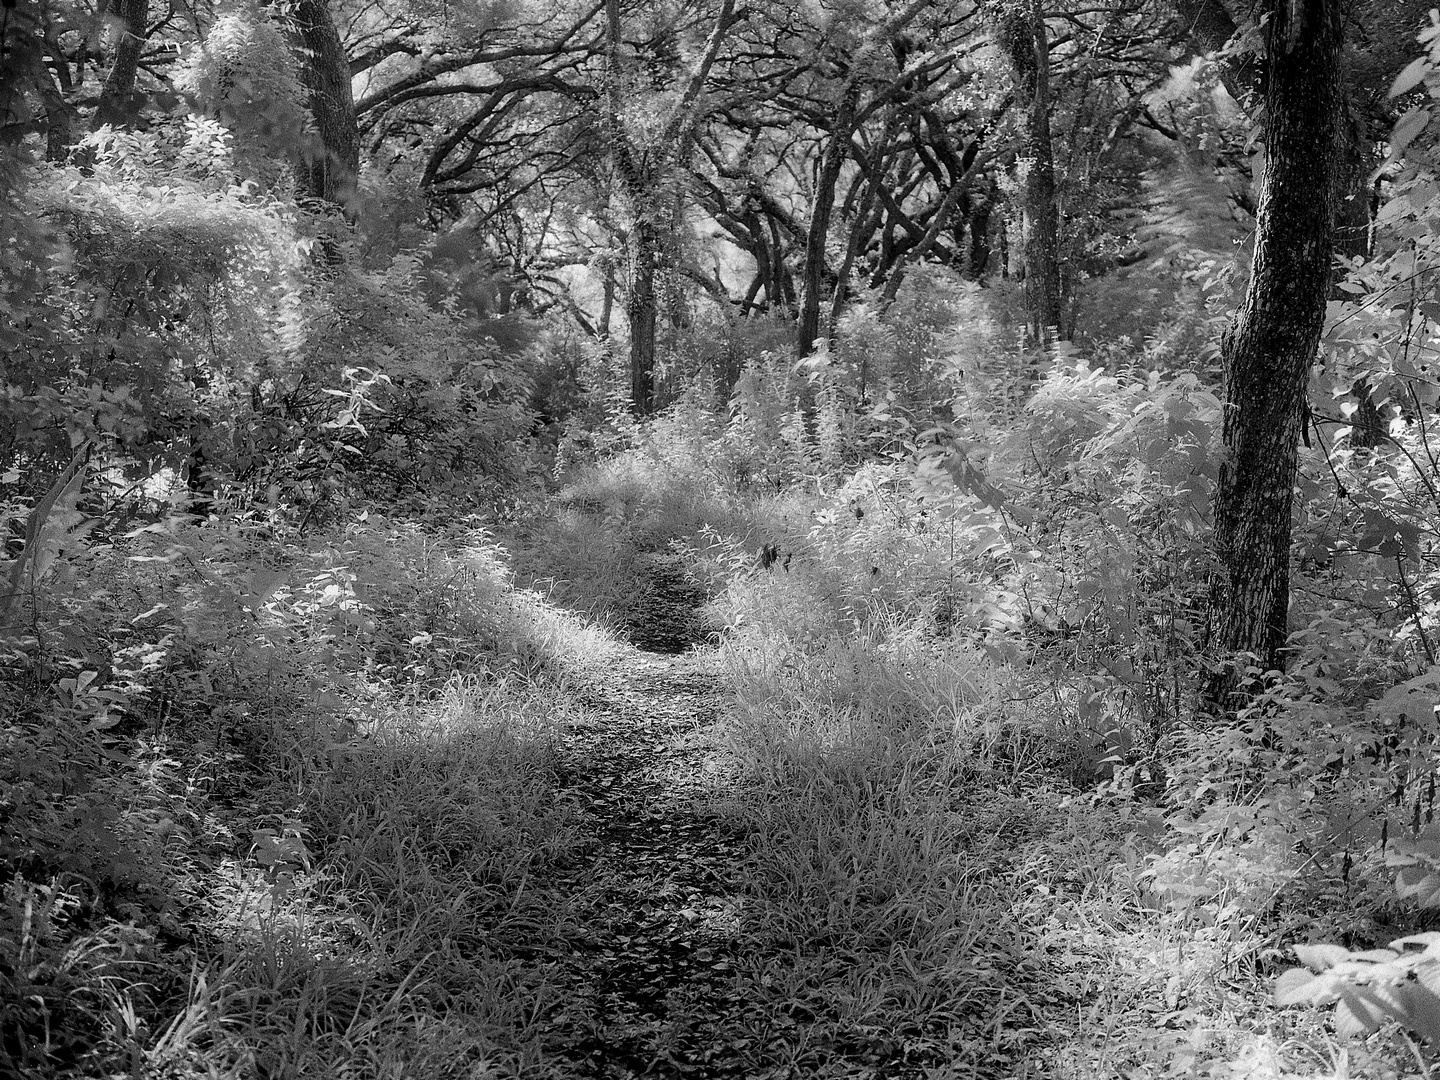
Chapel Trail Nature Preserve - Pembroke Pines, Florida ©Aloy Anderson
Tools of the trade
Almost any camera with full manual controls will work for IR but there are a few features it needs to have.
- A filter thread- To attach your filter.
- The ability to do long exposures- Most cameras have at least a 1-second shutter but for those technical long exposures make sure the cam has a threaded cable release feature.
- A tripod- Even on sunny days your exposure can be a second or more, way too long to handhold.
- Self timer- While not mandatory its good backup for those times you forget the cable release, allowing you to trigger the shutter without touching the cam and causing motion blur.
- A rapid filter system- Also not mandatory but more on this later.
- An Infrared film- I must point out that Ilford SFX is considered a near-infrared film having "extended red sensitivity" meaning it is on the edges of the strongest part of the infrared spectrum.
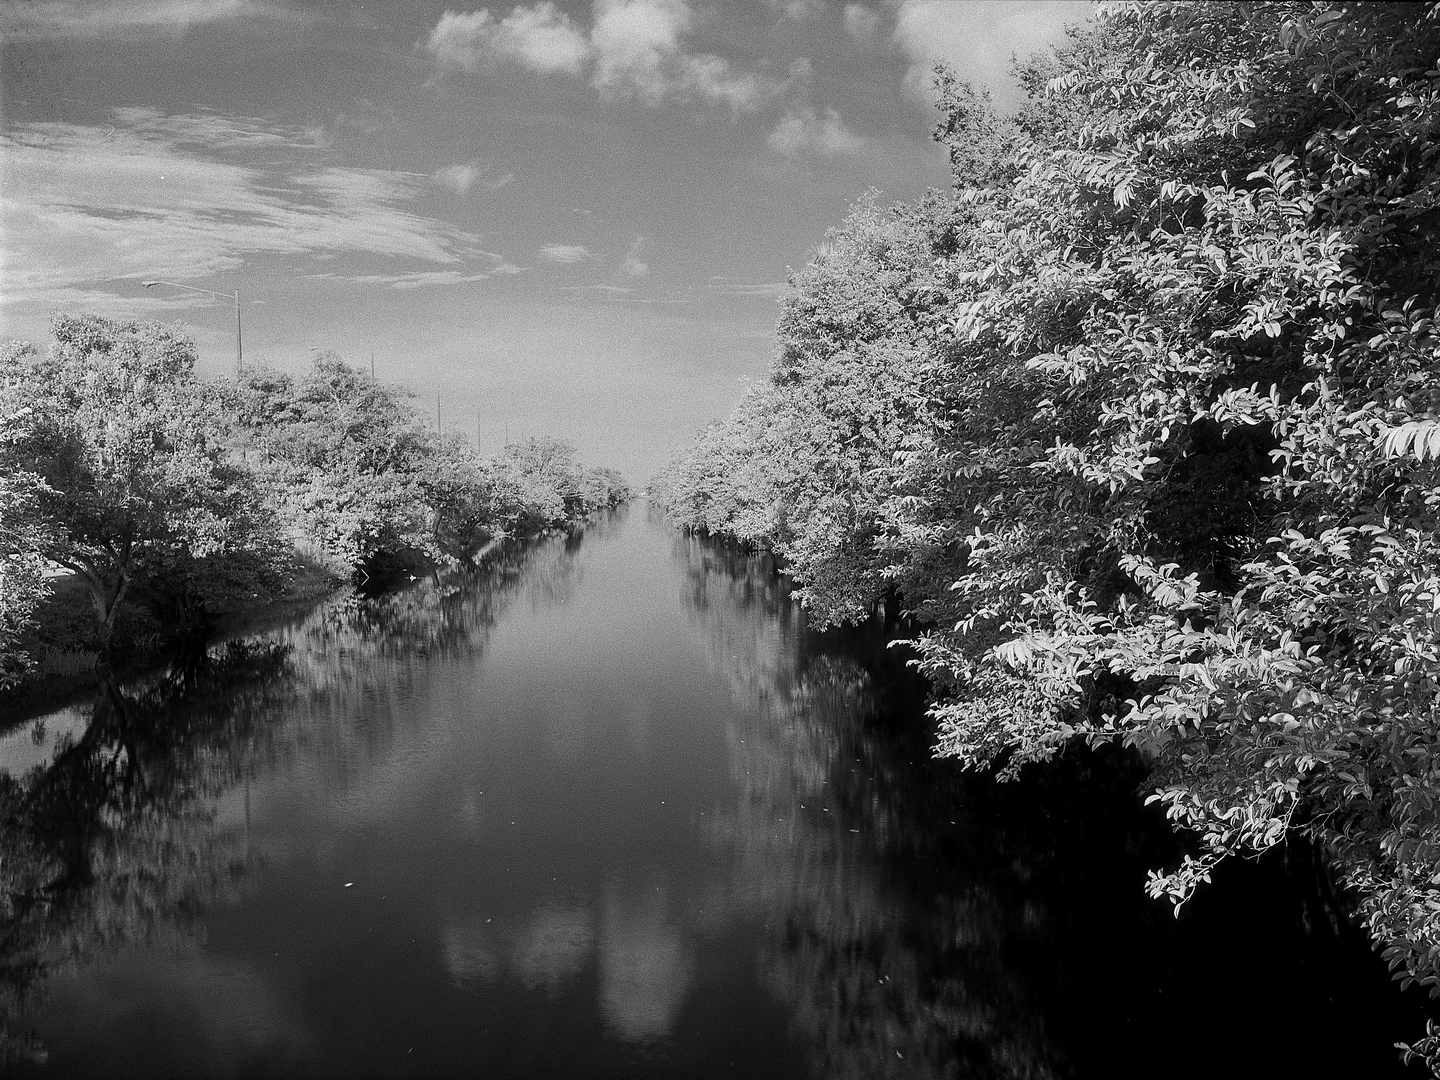
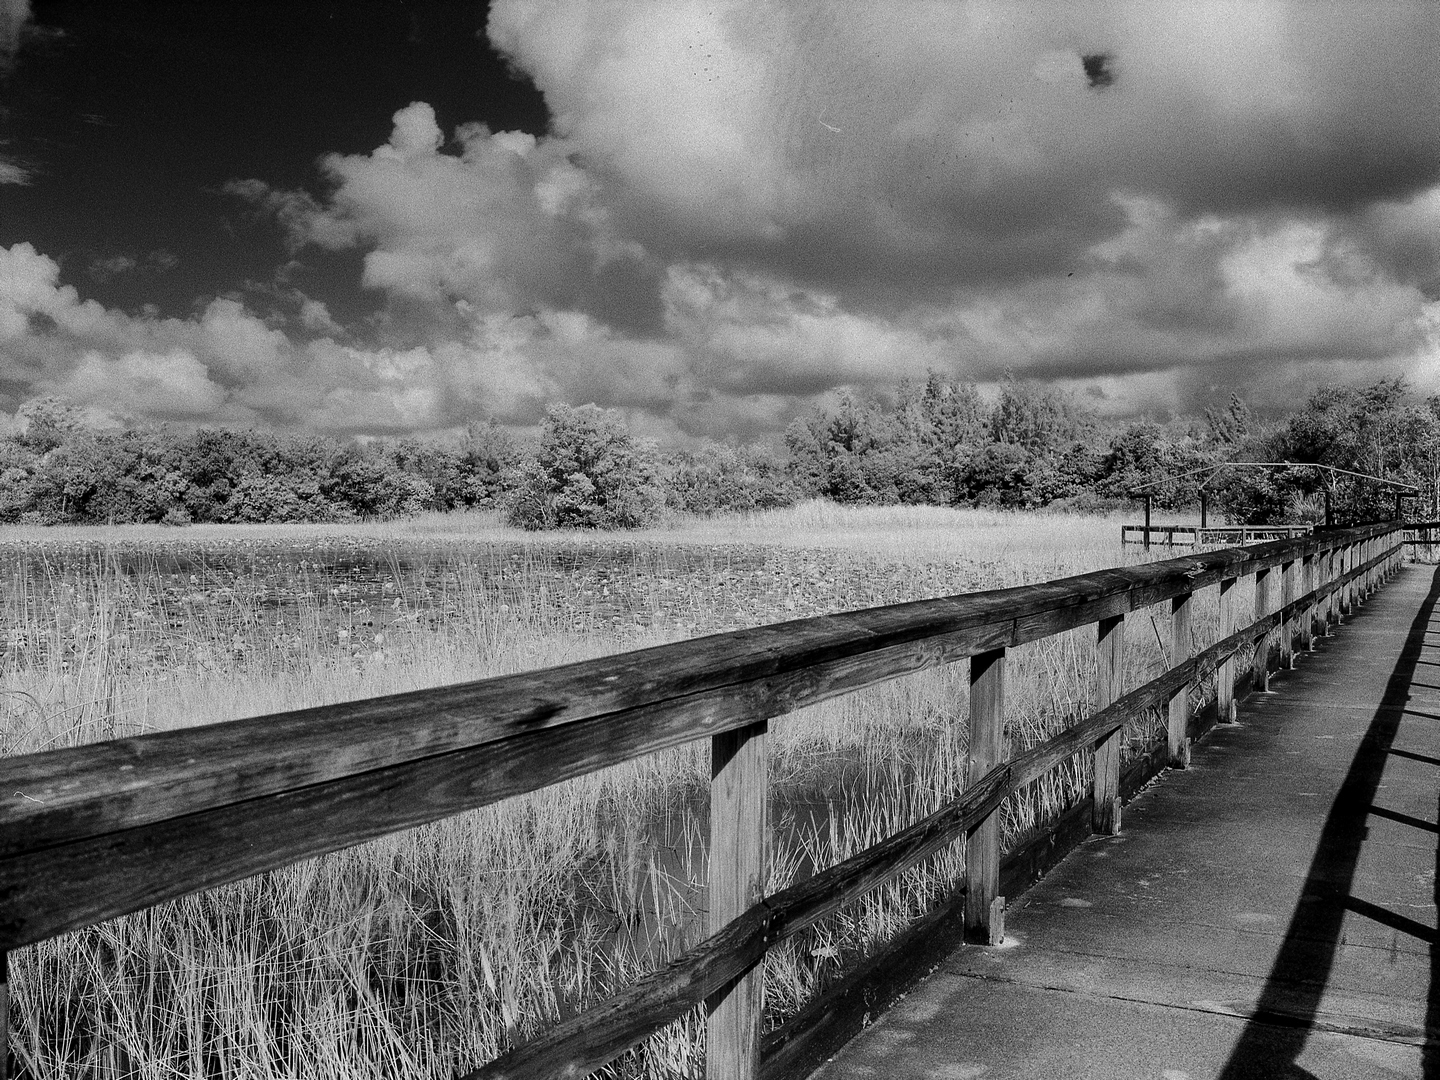
New River Canal - Davie Florida ©Aloy Anderson
Accurate exposure
As technologically advanced as photography gear has become its important to note there is still no such thing as an infrared light meter, this is not a huge problem because infrared comes from sunlight and best results are made on sunny days so here is the key. Just as traditional photography has the sunny 16 rule (to judge correct exposure without a meter) In my preliminary research I found that Infrared also has a baseline setting for sunny conditions, with a 720nm filter set your shutter to 1 second and aperture to f/8. most shooters will bracket from there, for example, they may take one slower shot at 2 seconds and one faster at 1/2 second to account for natural IR fluctuations.
I have to mention that I am shooting a medium format Mamiya M645 which is limited to 16 frames so I chose not to bracket in order to get the most of my rolls. Maybe that was a cocky gamble but of the 48 images, I shot only 3 came out a bit underexposed though still usable. That high keeper rate came from mainly shooting in sunny conditions and avoiding overcast days which would require guesstimating exposure and give poor/bland IR results.
Pioneer boatbuilders site - Miami, Florida ©Aloy Anderson
Accurate focus
Another interesting behaviour of infrared light is it doesn't focus on the same plane as visible light, it focuses slightly in front, this is called "infrared focus shift." This is easy to correct because most older manual lenses have a red infrared mark on the depth of field scale, once you achieve visible light focus you note that point and turn it to the infrared mark. For example, when the normal focus is 3 metres on my 55mm Sekor lens turning it to the infrared mark sets IR focus slightly closer at 2.5 metres. Interestingly f/8 has such deep depth of field that you may not notice much difference if you forget the adjustment, especially with landscapes. Due to this attention to critical focus, my images came out incredibly sharp and in the sweet spot of the lens.
Here is a potential problem and fix, IR filters are so dark that if you're using an SLR you won't be able to see through the lens to focus and compose with the filter in place. Imagine screwing the filter on and off 36 times per roll, not only would that be slow and tedious but you would fill it with fingerprints and potentially drop it. I recommend using some sort of rapid filter system with a hinge allowing you to swing the filter out the way to focus and quickly swing it back to take the shot, I'm using a Uurig model with 58mm filter thread.
Treetops Park - Davie Florida ©Aloy Anderson
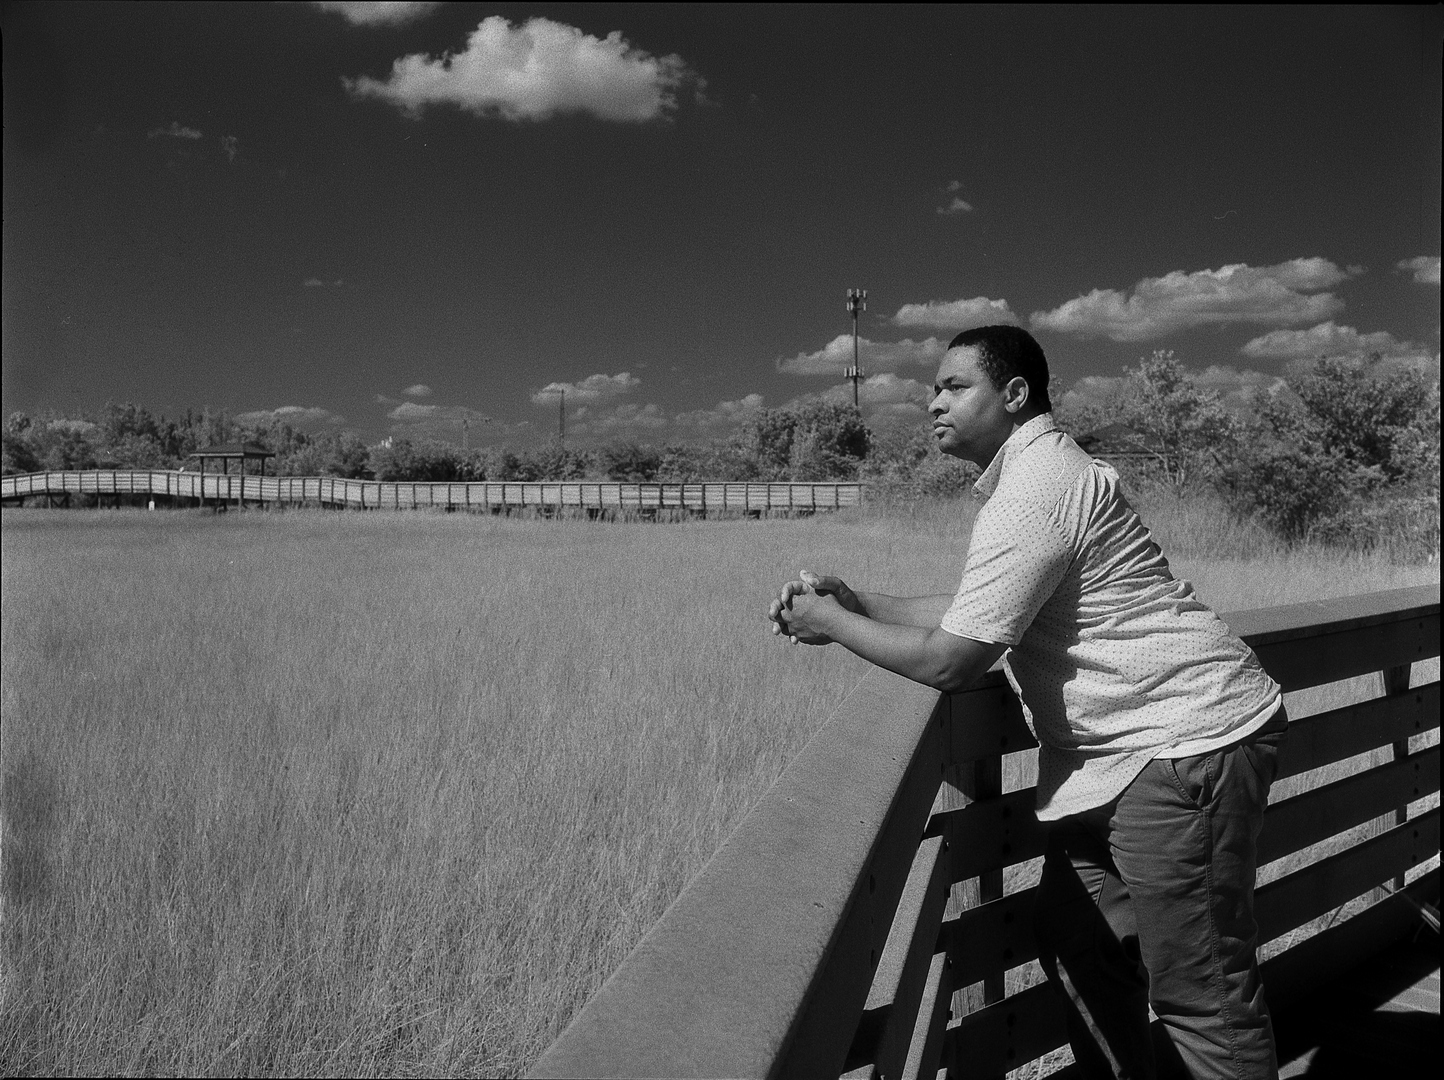
Experiment
Now that you've tried Infrared and seen your beautiful results don't hesitate to bend some of the "rules" in your experimenting. Maybe try shooting architecture instead of landscapes, do the darker skies enhance or detract? If you're looking for a spooky sci-fi effect try shooting people, you'll get a look that can't be duplicated in Photoshop for sure. How does it look when you shoot less than sunny conditions? Finally, without a filter Ilford SFX behaves like a regular BW film, I shot a few images this way and it renders perfectly normal as well.
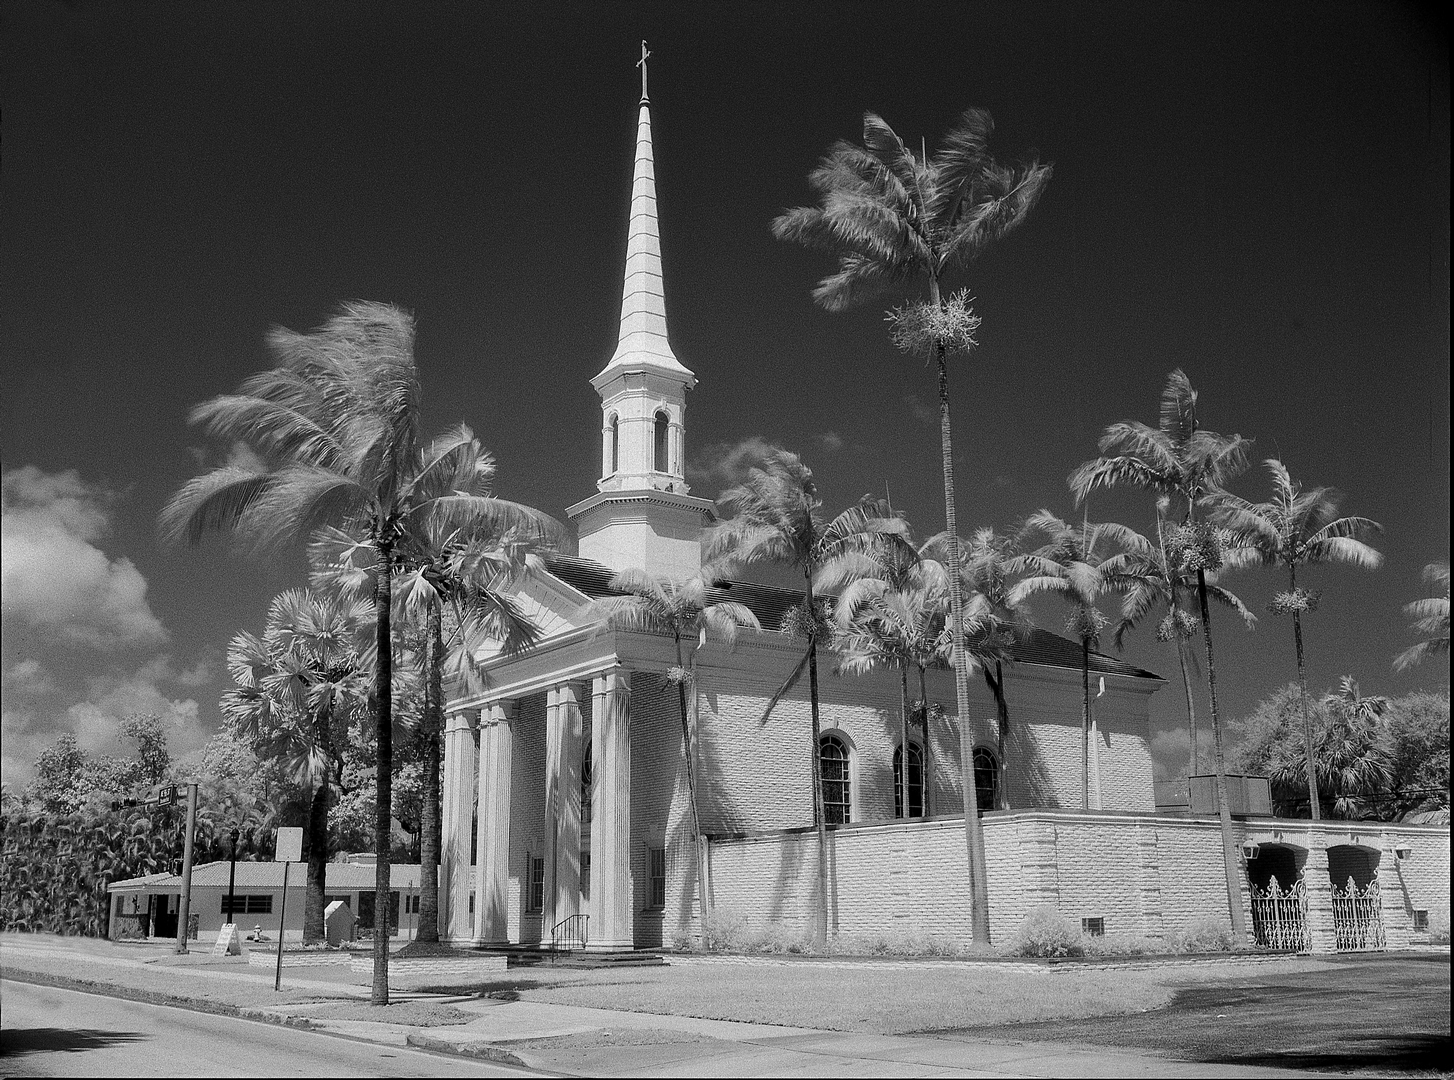
Church in Miami Shores Florida ©Aloy Anderson
On your marks
Now that we know the basics the only thing left to do is execute. As you look for scenes to photograph, Keep in mind green vegetation, blue skies and human skin is what IR acts upon so pre-visualize your composition while preparing the shot. But wait, conditions are always changing, did that cloud just block the sun? Will you wait for it to pass or choose to adjust the aperture/shutter a few stops? The wind speed just increased, do you mind the palm trees being blurred for this one-second exposure? You discover a forest with the sun peaking through the canopy that you want to challenge yourself to capture but how do you go about guesstimating exposure for lower light conditions like this?
These are some of the challenges you will face but your growing experience and intuition will be your guide. There's a satisfaction that comes from looking at your framed print hanging and knowing that you carefully made that image without the help of automatic aids. It will no doubt grow in you the confidence to tackle other advanced disciplines of photography.
Treetops Park Nature Center - Davie, Florida ©Aloy Anderson
To watch this explained in a video and see some more great images check out https://youtu.be/jANT7vAe2Xc
Reproduced with the kind permission from Harman technology and content from Aloy Anderson
-
Posted by Rodney Bates
11th June 2020
Recently viewed...


